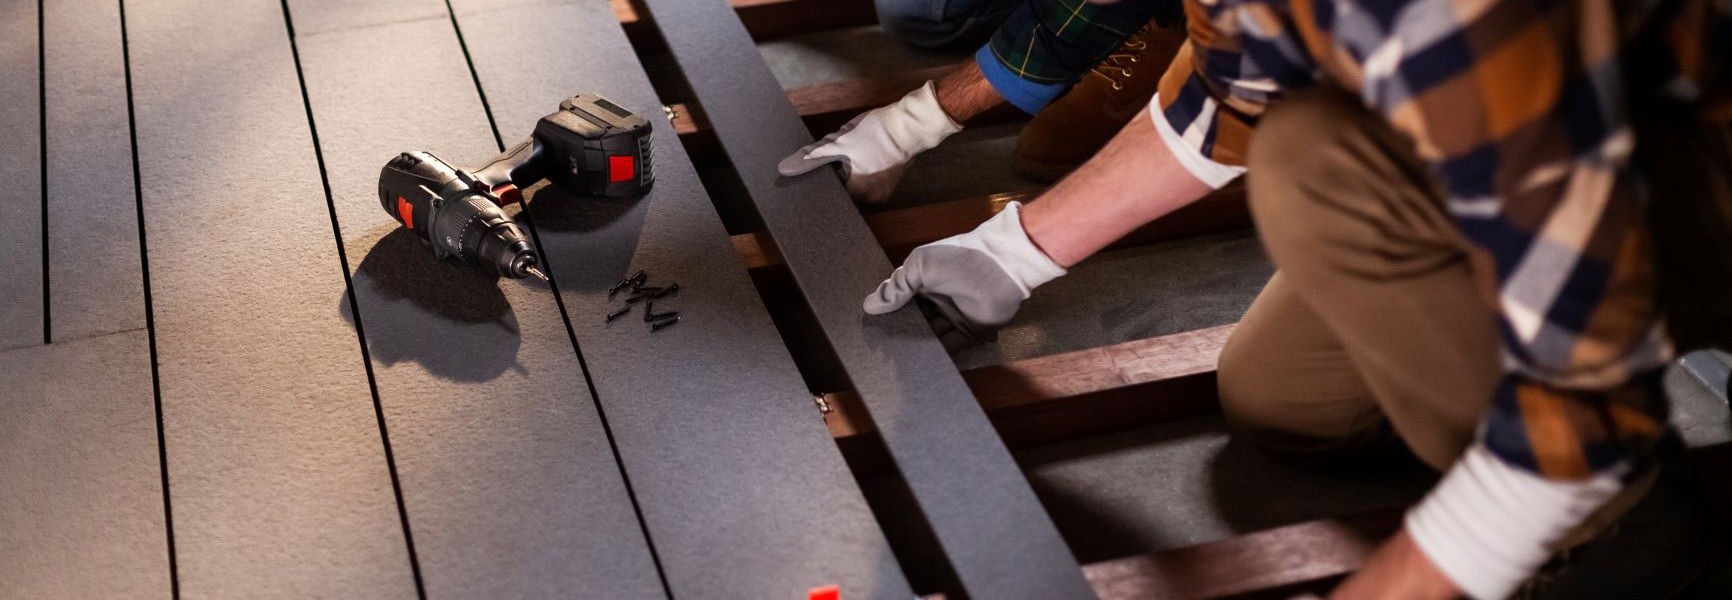
How do you install Cedral Terrace?
Easy to fit

Cedral Terrace is simple to fit.
The Cedral clips, and the ingenious little feet that hold
the clips in place for easy screwing in, can be used
with other installation systems if need be.
Technical specification

Cedral Terrace is available in two widths and four
colours. Cutting it into the shape you need is easy
and we have ready-rounded planks for a beautiful
finish.
Find the right tools

To make the installation of your Terrace even easier and for a high-end finishing, Cedral also offers the right multi tools for a perfect cut of the terrace planks.
Installation video
We have created a video that explains step by step how to install.
Just a few steps to your dream.
Calculate your terrace

How to you realize your perfect terrace? Good preparation is half the battle and makes installation in a later stage easier. The Cedral Terrace Calculator helps you: design your terrace and calculate the number of planks and accessories.
Follow these installation tips and be sure
you'll create your dream project

1. Plan
Before you start installing, plan your layout thoroughly. We recommend drawing a site plan of the area. Then you can order the right amount and know there won't be mistakes. We recommend consulting local building bodes or regulations prior before you start laying in case you need permission or sign-off.

2. Storage
Cedral Terrace boards must be stored flat on a pallet, undercover, and in dry conditions. Stack the pallets in a way that the panels are ventilated.

3. Use the right tools & accessories
You don't need any specialist tools to install your Cedral Terrace. But you do need to use proper tools for cutting and drilling the planks. For cutting, that means either a jigsaw with a blade for fibre cement, or a circular handsaw with diamond-tipped blade. Cedral offers specially developed tools and clips to make installation easier and faster.

4. Stable underground
The ground you lay the frame on must be stable or you won't get a good result. The joists must be laid on a solid, flat surface such as concrete and must not be laid directly onto grass, uneven paving slabs or sand. Cedral Terrace goes on top of the joists. You may need to consult a structural engineer for the specifications of an appropriate sub-floor.

5. Subframe
The joists of the subframe must a maximum of 315 mm apart, and should be securely fixed to the sub-floor. Make sure that all joists are good quality. We recommend you build in a 1.5 % (5.4 degree) slope so the rain runs off.

6. Plank Installation
Start the installation of the decking in one corner using the clips to fix it to the joists. Then work across the terrace, finishing up in the opposite corner.

7. Finishing
Clean away any dust from cutting the planks before you start fixing the planks. For a perfect finish Cedral Terrace offers also ready-rounded planks for the edges of your terrace.
Need more installation tips?

We designed Cedral to be straightforward and quick to install. You can find more details and information in the installation manual.
Share your #mycedralworld
project with the world